Online help for Jellox Pulse Pro / Jellox Pulse Elite
General product information
The Jellox Pulse is designed for use in the water distribution environment (i.e. transport of water to consumers via a network of pipes, pumps and storage facilities). It is a compact, battery operated, stationary device designed for operation in inspection chambers without explosive atmosphere used to record pulses from water meters as well as the switching states of digital contacts. These can be the output signals of bulk water meters or MID compliant meters, as well as the switching states of gate valves, floats or door/shaft/lid opening contacts. The Jellox Pulse is therefore suitable for meter monitoring, quantity recording and the detection of pipe bursts (via flow rate), of access to the infrastructure (via door, manhole or cover contact), of valve positions or water ingress (via float contact). It has 4 inputs, that can be configured either as counter or as digital input. A counter or digital contact can be connected directly to the inputs without using an additional power source. Thanks to the built-in battery and the integrated SIM chip, the Jellox Pulse works completely independently and is perfect for long-term use. With the variant "Elite", up to 4 remote sensor modules can be connected in addition to the inputs on the device. This allows for the collection of other important data from the drinking water supply network, such as pipe pressure. A list of compatible sensor modules can is provided in section Sensor modules.
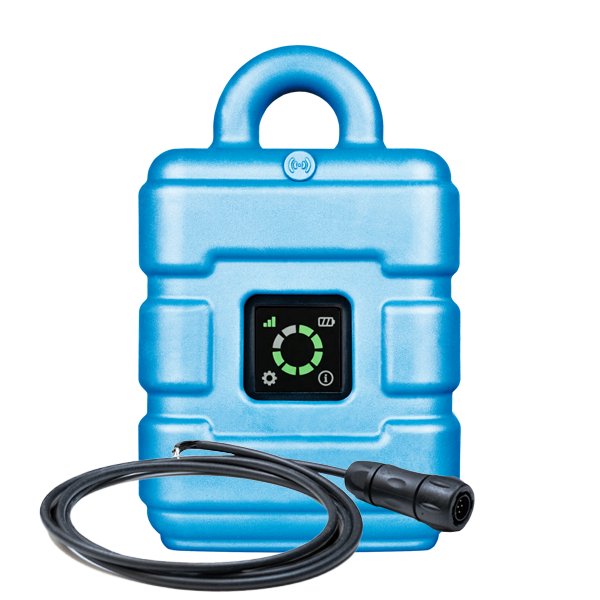
Product characteristics:
- Extremely compact design
- Ecodesign
- Configuration of the device via web interface
- Adjustable record and transmission interval
- Location-independant management of the measurement sites via internet
- Integrated, durable SIM chip
- Device time synchronised with the sever
- Very low commissioning & operating costs
- Variants available with internal antenna or with external antenna connection
- Variant with remote sensors available
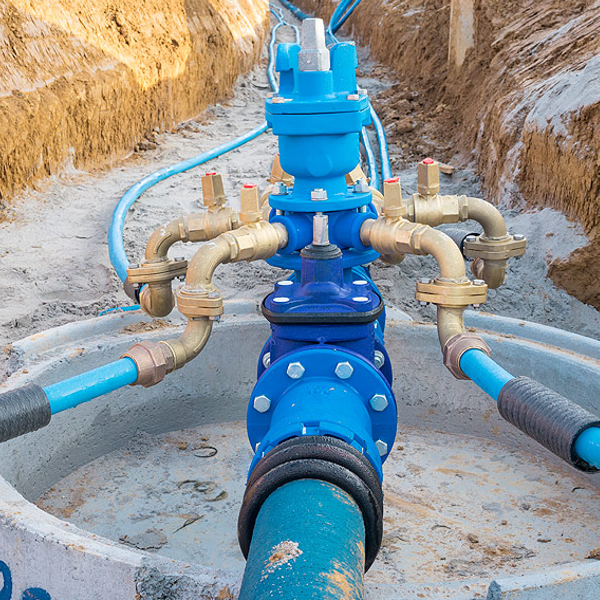
Application:
- Infrastructure monitoring
- Bulk water meter monitoring
- Quantity recording
- Pipe burst detection
- Remote meter reading
- Pressure and temperature monitoring
This online help is applicable from:
- Firmware version: 01v011
- IoT app version: 16.14.2
- Server version: 54v00x
- Product revision: 3.0 (Pro) / 2.0 (Elite)
Frequently asked questions (FAQs)
 What do the error codes mean?
| Indicated error code | Explanation |
|---|---|

|
last connection failed |

|
Blocked meter output detected |

|
Local radio connection to remote sensor not possible |
A detailed explanation is provided in section Error codes.
Is it mandatory to connect an antenna for the variant with external antenna connection?
Yes.
The variant with external antenna connection does not have an internal antenna. An external antenna is therefore mandatory. We recommend the "Dome antenna multi band FME-F 3m " (301211).
A list of available antennas is provided in section Antennas.
How do I install the Multi band antenna with
bracket ?

|
| How-To-Video: Installing the Multi band antenna with bracket |
- Push the Jellox Pulse slightly out of the protective armour
- Slide the antenna bracket into the opening on the back of the protective armour
- Push the Jellox Pulse completely back into the protective amour
- Remove the sealing plug that protects the antenna connector
- Connect the antenna connection cable to the antenna connector on the device

|
Avoid applying excessive force when tightening the antenna. No tools may be used. The antenna should only be tightened by hand. |
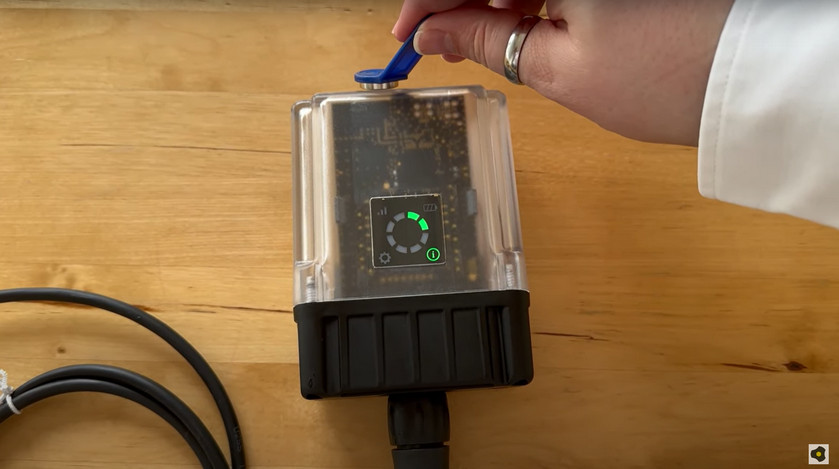
How do I initiate a connection?
|
| How-To-Video: Triggering a connection |
Hold the MDN Magnet (206.803) on the position shown in the following figure until all segments of the circle are green.
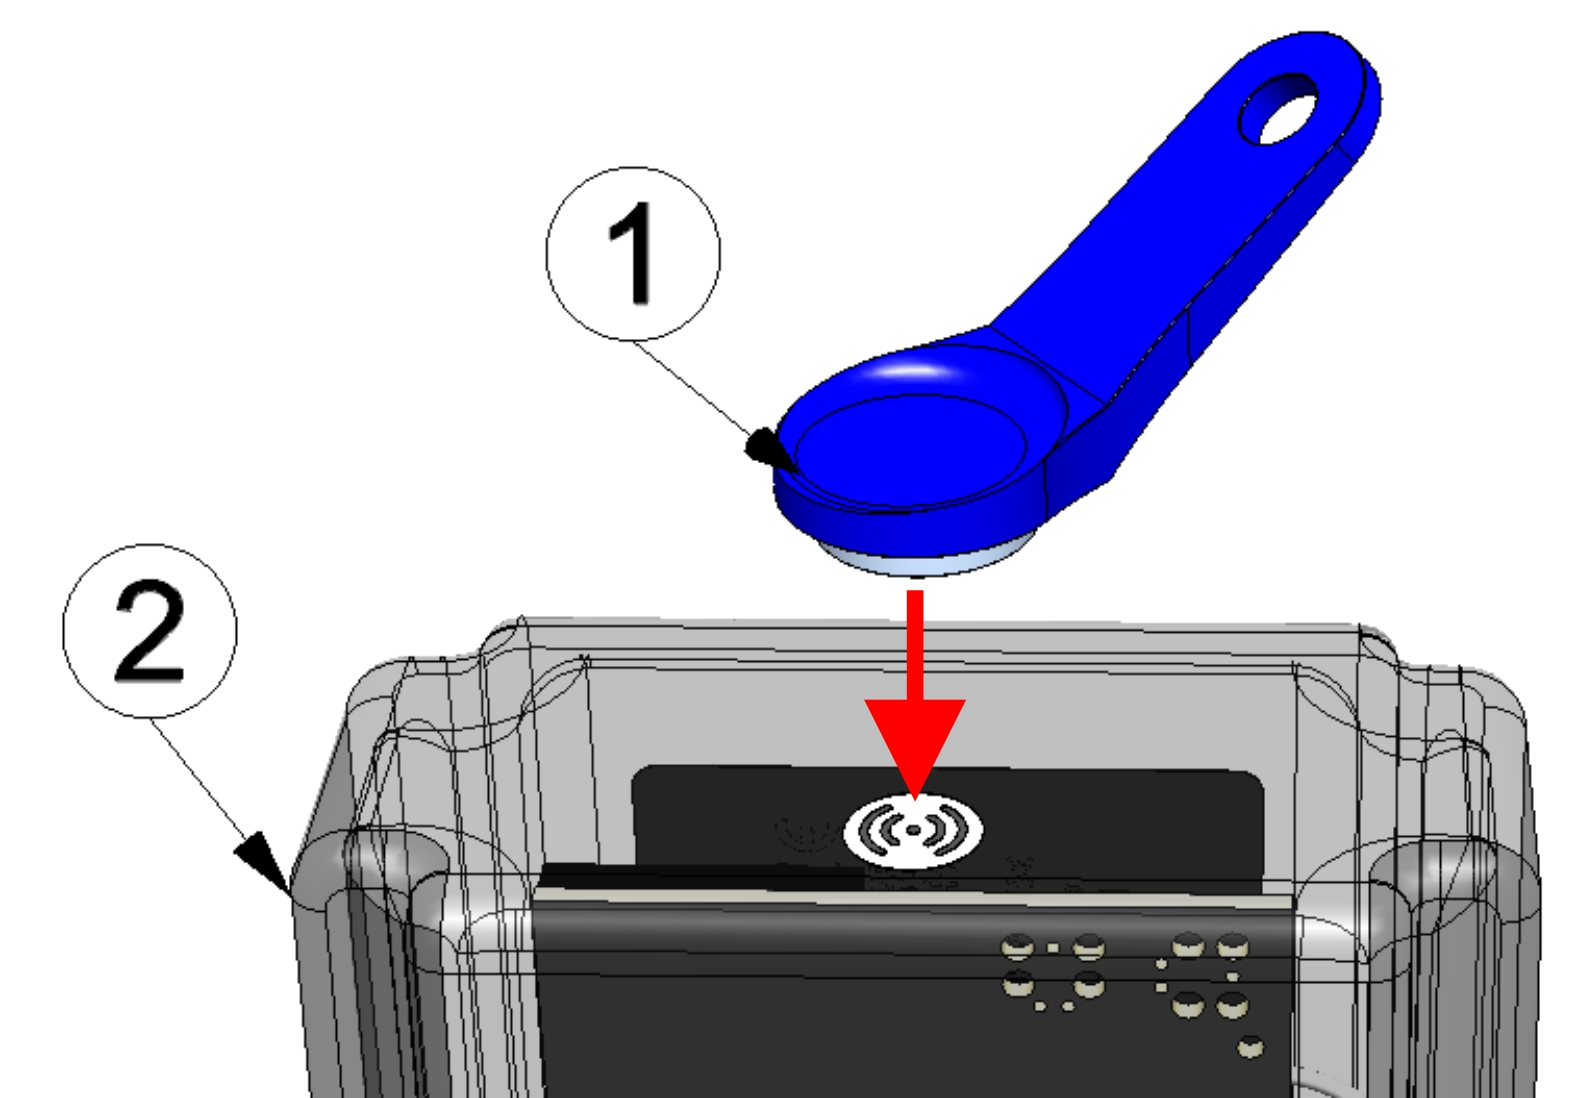
| 1 | MDN Magnet (206.803) | 2 | Jellox Pulse |
How do I activate the display?
Briefly tap the MDN Magnet (206.803) (approx. 1 sec.) on the position shown in the following figure.
When tapping the first time after activating the display, automatic switching between the display of the error codes (provided there are active errors) and the current operating state is deactivated. After that, you can switch to the next tab everytime you tap again.
| 1 | MDN Magnet (206.803) | 2 | Jellox Pulse |
How do I connect a meter or digital contact?
| Sensor connector (7-pin MIL connector) | Connection cable | Signal | |
|---|---|---|---|
|
Sensor connector
Connection cable |
A | White | Input 3 |
| B | Gray | Input 4 | |
| C | Pink | Reserved for extensions | |
| D | Yellow | Input 2 | |
| E | Green | Input 1 | |
| F | Blau | Reserved for extensions | |
| G | Brown | Ground |

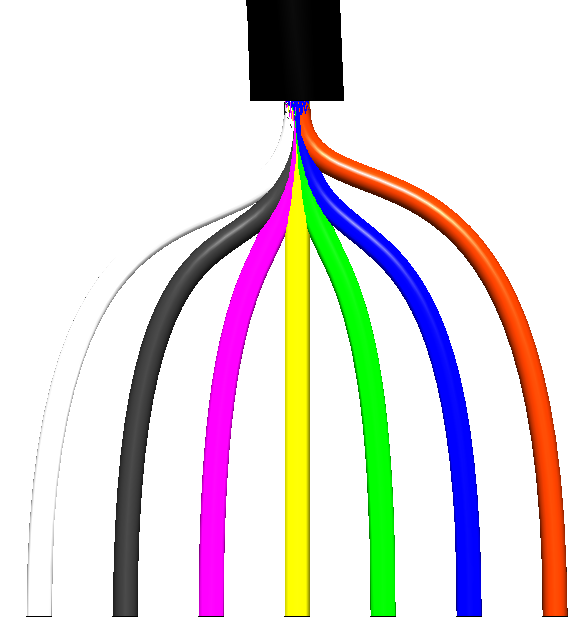
A detailed explanation is provided in section Connecting the meters and the digital contacts.
How do I set the start value for a meter?
|
|
To set the meter reading, an active connection between the Jellox Pulse and themyDatanet server is required. |
Switch to the configuration section Measurement system. The wizard for setting the meter reading can be opened via the three-dot menu at the end of the row that represents a measurement channel. Then follow the instructions in the wizard.
A detailed explanation is provided in section Set meter reading.
Which meters and sensors are compatible with the Jellox Pulse
?
Meters and sensors with isolated switch contact can be connected directly to the inputs of the Jellox Pulse . There is no additional energy source required. A detailed description of the inputs is provided in section Technical details about the inputs.

|
Meters and sensors with active output (i.e. voltage output) or S0 interface are not compatible. |
In addition, Microtronics Engineering GmbH is constantly testing various meters and sensors for compatibility with the Jellox Pulse . A list of compatible sensors is provided in section Compatible sensors.
Which remote sensors are available?
| Description | Measurement range | Quantity | Order number |
|---|---|---|---|
| Pressure sensors | |||
| PRE‑PT‑D30 | 0...30 bar | 1 | 400420 |
How do I re-establish the radio connection to the remote sensors?
If the local radio connection between the Jellox Pulse Elite and a sensor module has been interrupted (see Error codes), shortly (approx. 1 sec.) pressing the reed switch also initiates the search for remote sensors.
When interruptions occur, several attempts are made instantly to re-establish the connection before an error is triggered. Unless you take any action, the process of establishing the radio connection to the remote sensors will start automatically 5 minutes after the interruption is signalled. With each unsuccessful attempt, the waiting time before the next attempt is increased according to the following schedule:
- 10 minutes after the previous attempt
- 30 minutes after the previous attempt
- 2 hours after the previous attempt
- Any further attempt 2 hours after the previous attempt
How can I check the quality of the radio connection to the remote sensors?
TheJellox Pulse Elite transmits more measurement values than are displayed in the default report template for displaying the measurement data. This includes the signal strength of the radio connection ("RSSI") for each of the remote sensors.
|
|
The following section describes how to create a report. More information is provided in the "Reports" section of the myDatanet Server Manual . |
To display the "RSSI" measurement value, proceed as follows:
- Create a new report (plus symbol in the "Reports" section of the "Sites / Applications" area at customer level)
- Add a report element of type "Graphic" to the report you have just created.
- Open the configuration of the graphic report element.
- Use the "Site" and "Channel" drop-down lists to select the RSSI measurement value of the remote sensor to be checked. The name of the measurement value is made up of the variable part (defined via the input window "Remote sensor module of type PRE-PT-D30") and "RSSI".
- Complete the configuration.
- Evaluate the displayed measurement curve. The signal strength should always be above -75 dBm (e.g. -70 dBm).
Take the following precautions to improve the radio connection:
- Remove interfering objects. A direct line of sight between the Jellox Pulse Elite and the remote sensors ensures optimum connection conditions.
- Reduce the distance between the Jellox Pulse Elite and the remote sensors.
How can I link additional remote sensors to the Jellox Pulse
?
There is currently no possibility for customers to add additional remote sensors to the Jellox Pulse Elite at a later date or to replace an existing remote sensor.
Should you still need to do so, please contact our support team (support.microtronics.com). Our support team can usually carry out the requested action remotely. It is therefore not necessary to send in the Jellox Pulse Elite .
|
|
Our support team is also limited to the maximum permitted number when adding remote sensors. The Jellox Pulse Prodoes not support remote sensors. WithJellox Pulse Elite , up to 4 remote sensors can be used. |
How do I deactivate the Jellox Pulse
again?
The Jellox Pulse can be deactivated via the configuration section Measurement system. Click on the button that displays the current status of the measurement system. In the menue that opens, select the option "Deactivate measurement system". Then trigger a transmission using the reed switch (see Reed switch) to transmit the altered configuration to the Jellox Pulse .
A detailed explanation is provided in section Storage of the product.
How can I assign a different Jellox Pulse
to the site? I.e. how do I replace a device?
The measurement data is assigned to the site and not to the linked device. If a device is replaced, all data (measurement values and configurations) are retained. The site is only assigned a different device by changing the serial number. From this moment on, the site receives the measurement data from the newly assigned device.
Proceed as follows to assign another Jellox Pulse to the site:
- Deactivate the new device (see Storage of the product). Newly delivered Jellox Pulse are by default deactivated.
- Open the default input screen for configuring the site (click on the pencil symbol in the list of sites, see "Sites / Applications" area at customer level).
- Enter the serial number of the new device in the "Device S/N" field of the configuration section "Site".
- Trigger a connection on the device to be replaced (see Reed switch). All data that has not yet been transmitted is transferred to the server.
- Check whether all relevant data has been transferred. If necessary, trigger the connection again.
- Trigger a connection on the new device to transfer the the configuration of the site (and therefore also the assignment to the site) to the new device.
From this point on, the site receives the measurement data from the newly assigned device.
| As the replaced device is now not assigned to a site, it no longer records any data. However, it will continue to establish a connection to the server at the last set transmission interval in order to be informed about the assignment to a site if necessary. However, it is recommended to deactivate the device. To do so though, the device must be assigned to a site. The site can be deleted again after deactivating the device. |