Online help for myDatalogEASY IoT ATEX
General product information
The myDatalogEASY IoT ATEX is a data logger approved for use in areas with a zone 2 explosive atmosphere. It is used to determine, process and transmit analogue and digital signals. Thanks to the 2 universal inputs, which can be operated in different analogue and digital modes, the myDatalogEASY IoT ATEX is compatible with a large number of different sensors. A selection of these is provided in section Compatible sensors. For sensors not included in this list, proof of intrinsic safety must be provided by the user. The relevant parameters are provided in section Specifications. Sensors can be connected to the universal inputs directly, without additional energy sources. The energy supply is then provided from the myDatalogEASY IoT ATEX , which, depending on the power supply unit used, can itself be operated without mains poser. By using the mobile network to transfer data to the server, the site rarely has to be physically accessed and the data can be accessed at all times.
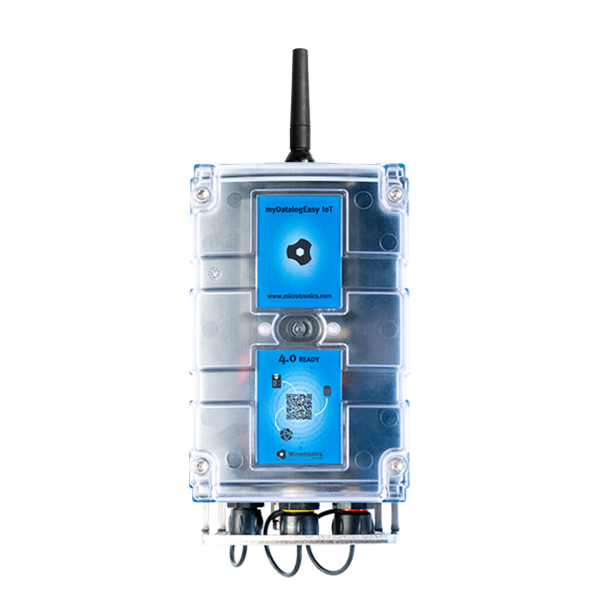
Product characteristics:
- ATEX certified for zone 2
- Universal inputs for digital and analogue signals
- Switchable and adjustable supply voltage for sensors
- Internal battery compartment
- Battery or direct power supply
- Exact state of charge of the battery using Coulomb method
- Integrarted charge control
- Configurable via web interface
- Adjustable transmission and record interval
- Device time synchronised with the sever
- Hardware real-time clock
- Very low comissioning & operating costs
- Integrated durable SIM-chip
Application:
- Level measurement
- Flow measurement
- Transmission of measurement values of probes
This online help is applicable from:
Frequently asked questions (FAQs)
 What do the blink codes mean?
| Blink code | Colour | Description |
|---|---|---|
| 0x | --- | Transport lock (transmission OFF, measurement OFF) |
| 1x | green | Last connection OK |
| 2x | red | Last transmission faulty |
| 7x | red | Network block/no matching provider |
| 8x | red | No mobile network |
| 9x | red | incorrect PIN/1 attempt remaining |
| 10x | red | No mobile network connection |
| 11x | red | No server available |
| 12x | red | Faulty SIM chip |
A detailed explanation is provided in section Three colour status LED.
Do I have to connect an antenna to both connections for variants with two antenna connections?
Yes.
The combi antenna "Flat antenna Disc multi band 2xFME-F 2m " (301196), which contains two mobile network antennas, is recommended in such cases. Alternatively, 2 separate antennas of the same type can also be used.
A list of available antennas is provided in section Antennas.
How do I initiate a connection?
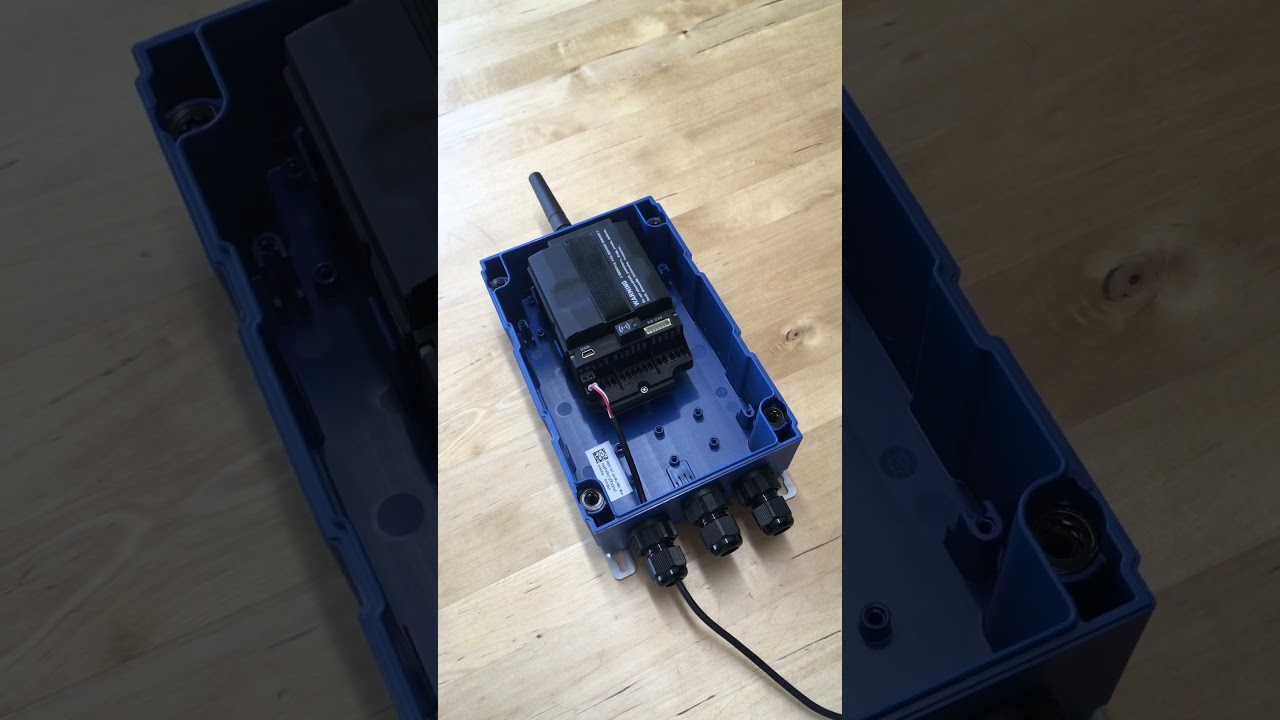
|
| How-To-Video: Triggering Aloha transmission mode |
Tap the MDN Magnet (206.803) for at least 3 sec. on the position shown in the following figure.
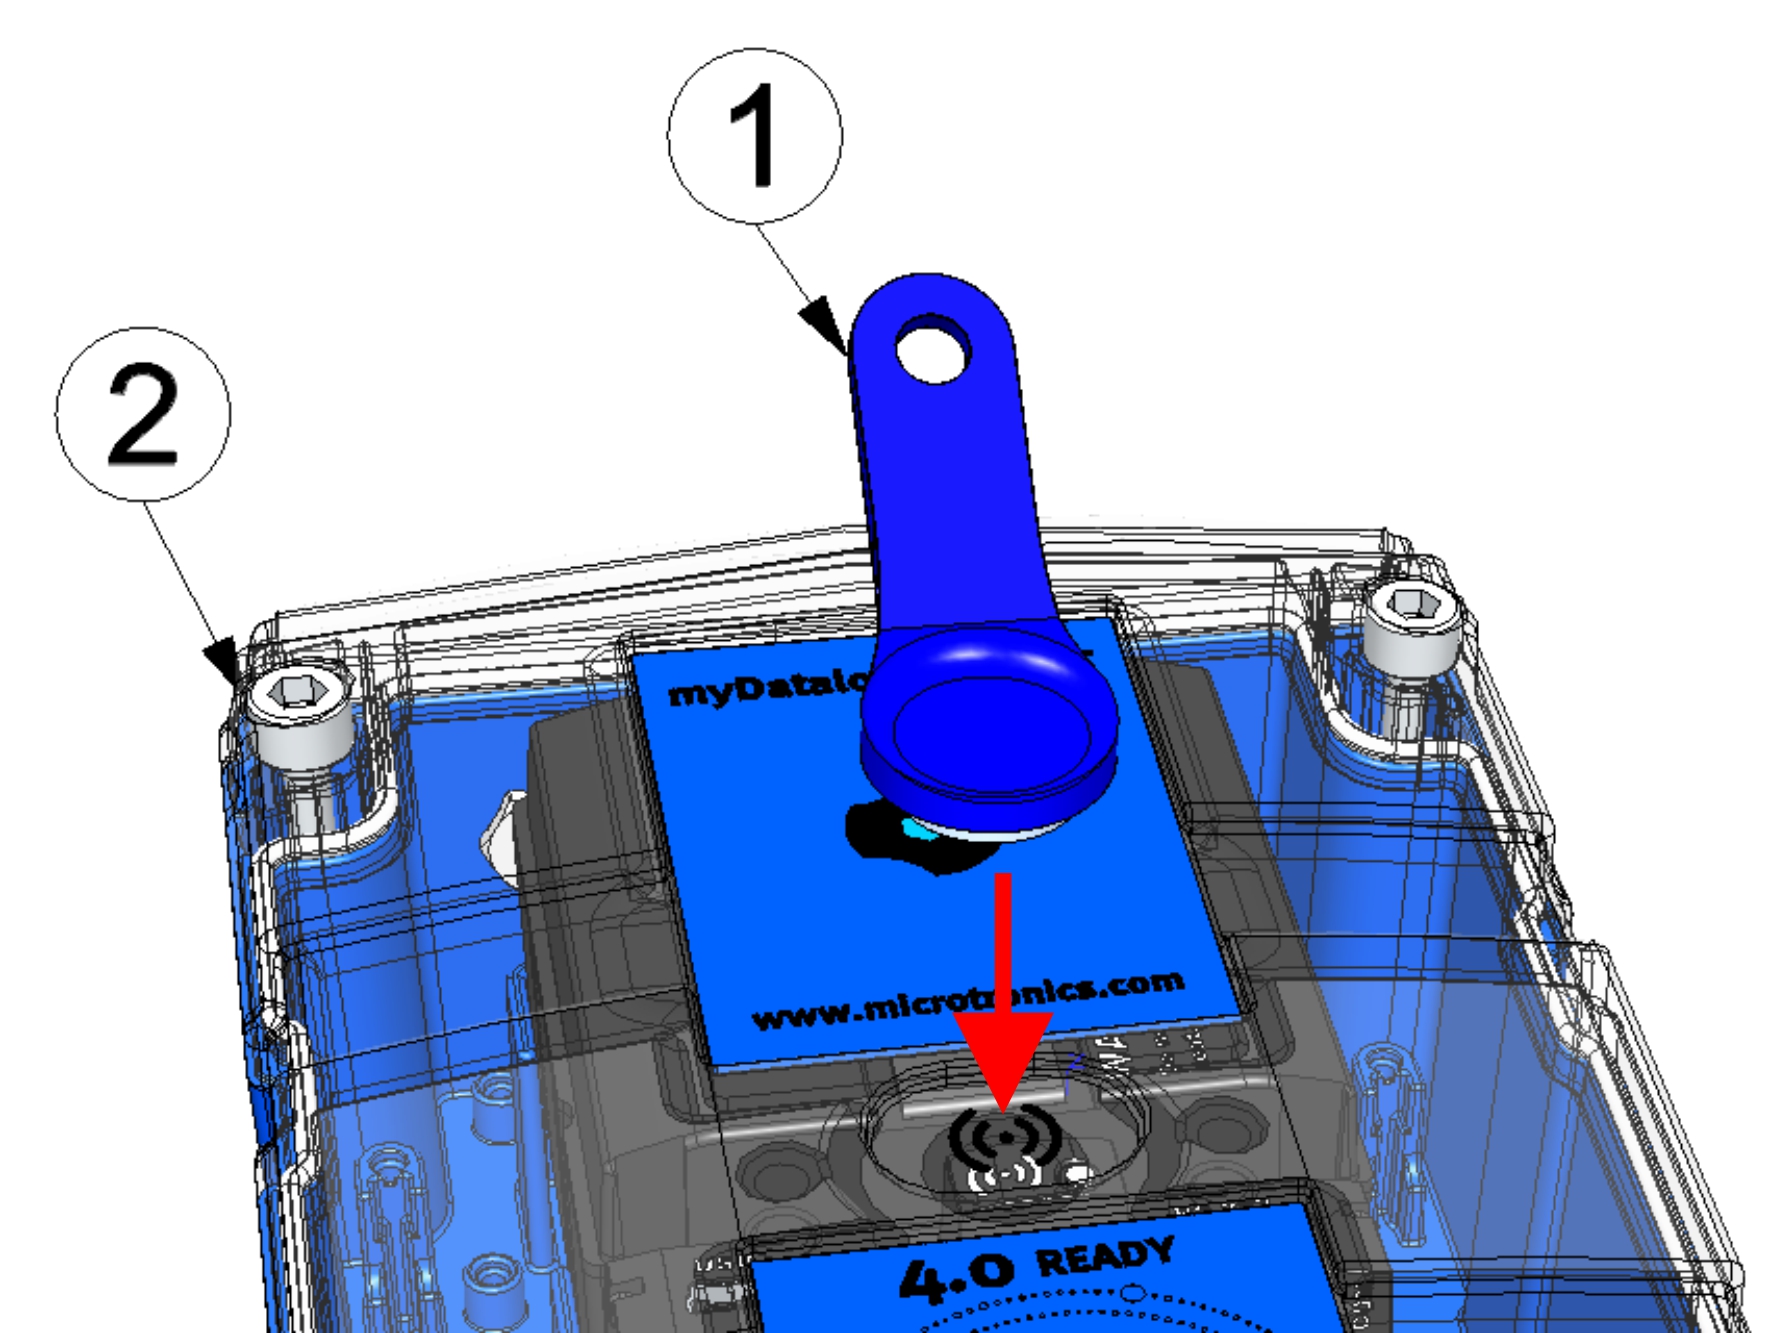
| 1 | MDN Magnet (206.803) | 2 | myDatalogEASY IoT ATEX |
How do I activate the output of the error codes / status codes?
Briefly (approx. 1 sec.) tap the MDN Magnet (206.803) on the position shown in the following figure.
How do I connect a 0/4-20 mA sensor?
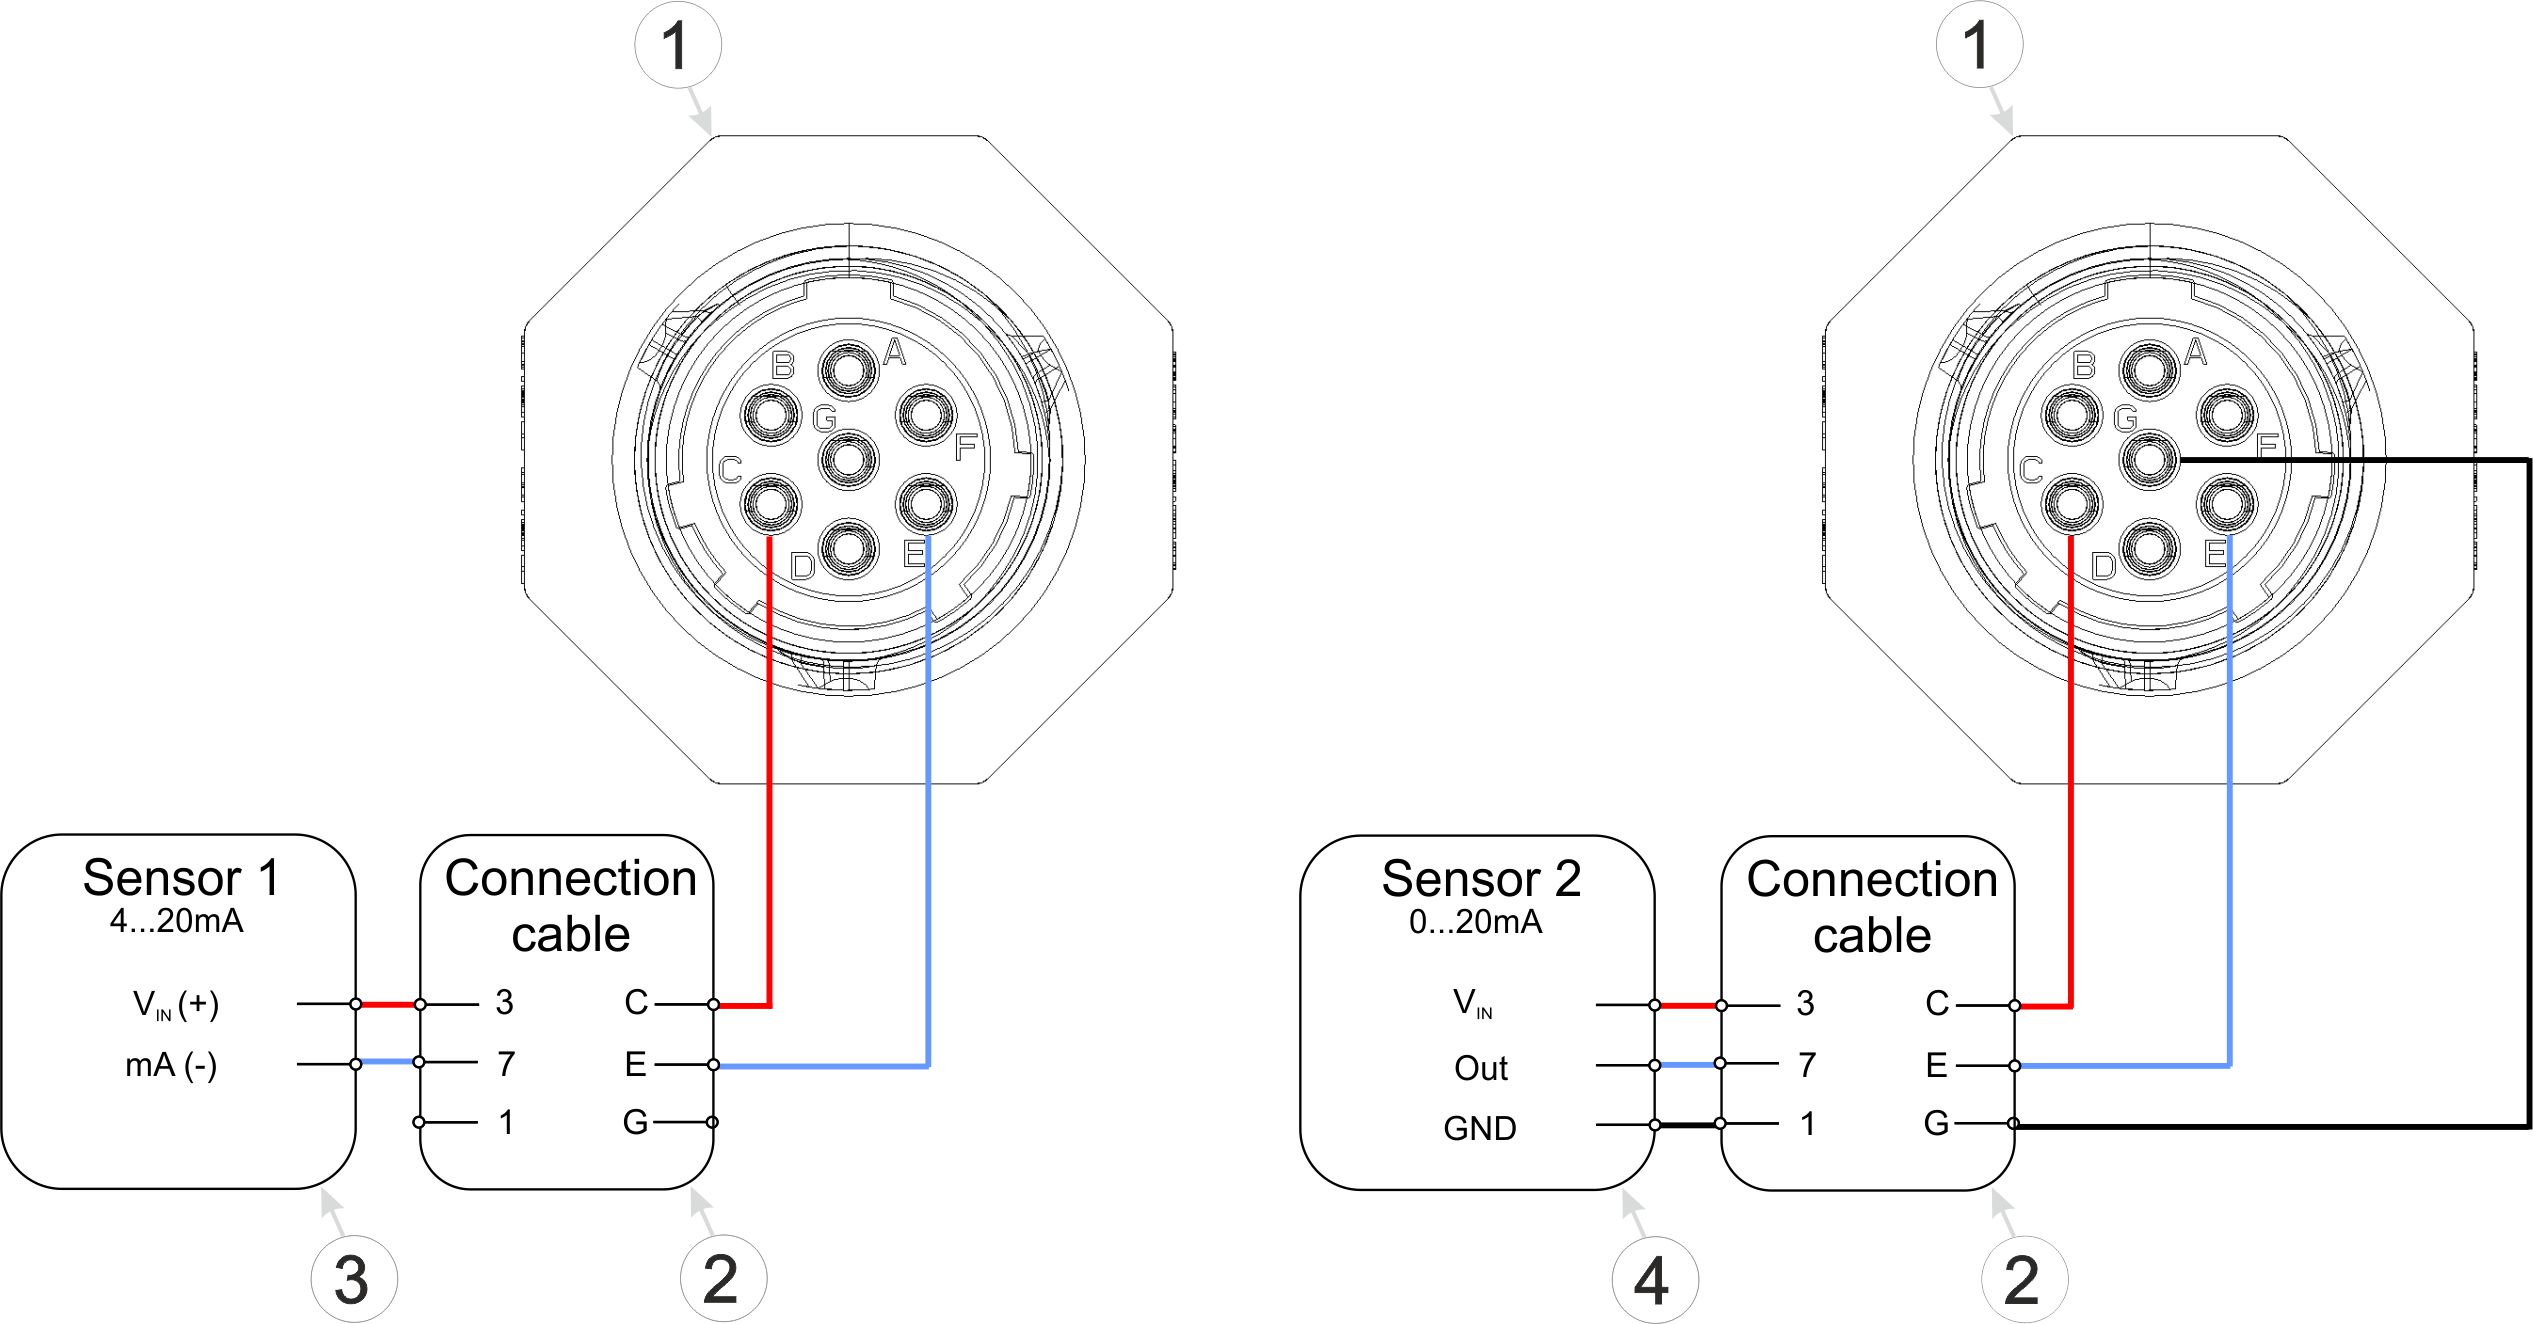
| 1 | myDatalogEASY IoT ATEX | 3 | 2-wire mA sensor |
| 2 | Connection cable 7-pins for sensors 2,8 m (206.602) | 4 | 3-wire mA snsor |
A detailed explanation is provided in section Connection of the sensors and power supply.
Which sensors with mA output are compatible with the myDatalogEASY IoT ATEX ?
Microtronics Engineering GmbH is constantly testing various sensors with mA output for compatibility with the myDatalogEASY IoT ATEX .
A list of compatible sensors is provided in section Compatible sensors.
How do I deactivate the myDatalogEASY IoT ATEX again?
Activate transport mode by setting the "operating mode" in the "Basic settings" configuration section (see Basic settings) to "transport". After that, initiate a connection (see Aloha transmission mode) to transmit the changed configuration to the myDatalogEASY IoT ATEX .
A detailed explanation is provided in section Storage of the product.
How can I assign a different myDatalogEASY IoT ATEX to the site? I.e. how do I replace a device?
The measurement data is assigned to the site and not to the linked device. If a device is replaced, all data (measurement values and configurations) are retained. The site is only assigned a different device by changing the serial number. From this moment on, the site receives the measurement data from the newly assigned device.
Proceed as follows to assign another myDatalogEASY IoT ATEX to the site:
- Make sure that no PSU is inserted in the new device, so that it cannot connect to the server.
- Open the default input screen for configuring the site (click on the pencil symbol in the list of sites, see "Sites / Applications" area at customer level).
- Enter the serial number of the new device in the "Device S/N" field of the configuration section "Site".
- If the device to be replaced is not online, trigger a connection (see Solenoid switch). All data that has not yet been transmitted is transferred to the server.
- Check whether all relevant data has been transferred. If necessary, trigger the connection again.
- Connect the new device to the power supply (optional for PSUs with integrated energy storage).
- Insert a PSU in the new device. The connection should be established automatically.
- Trigger a connection on the new device to transfer the the configuration of the site (and therefore also the assignment to the site) to the new device.
- Disconnect the device to be replaced from the power supply.
From this point on, the site receives the measurement data from the newly assigned device.