Replacing the power supply unit
|
|
| How-To-Video: Replacing the PSU and the silica gel pouch |
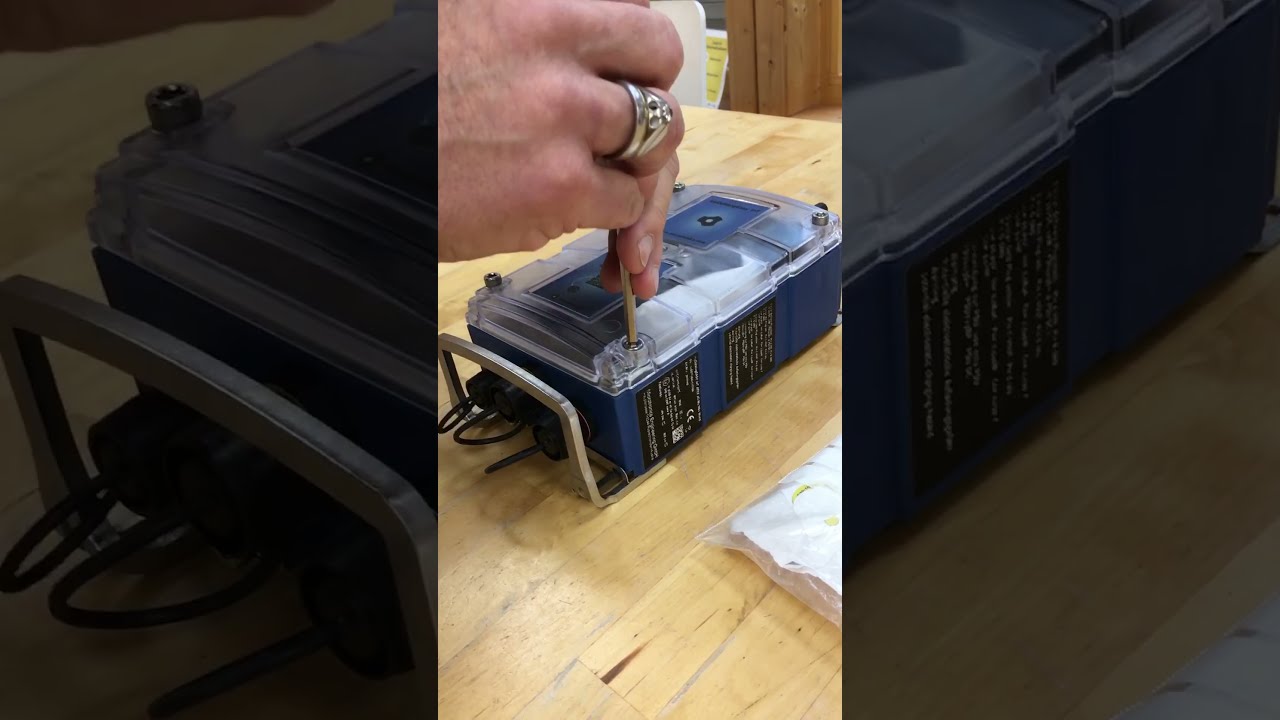
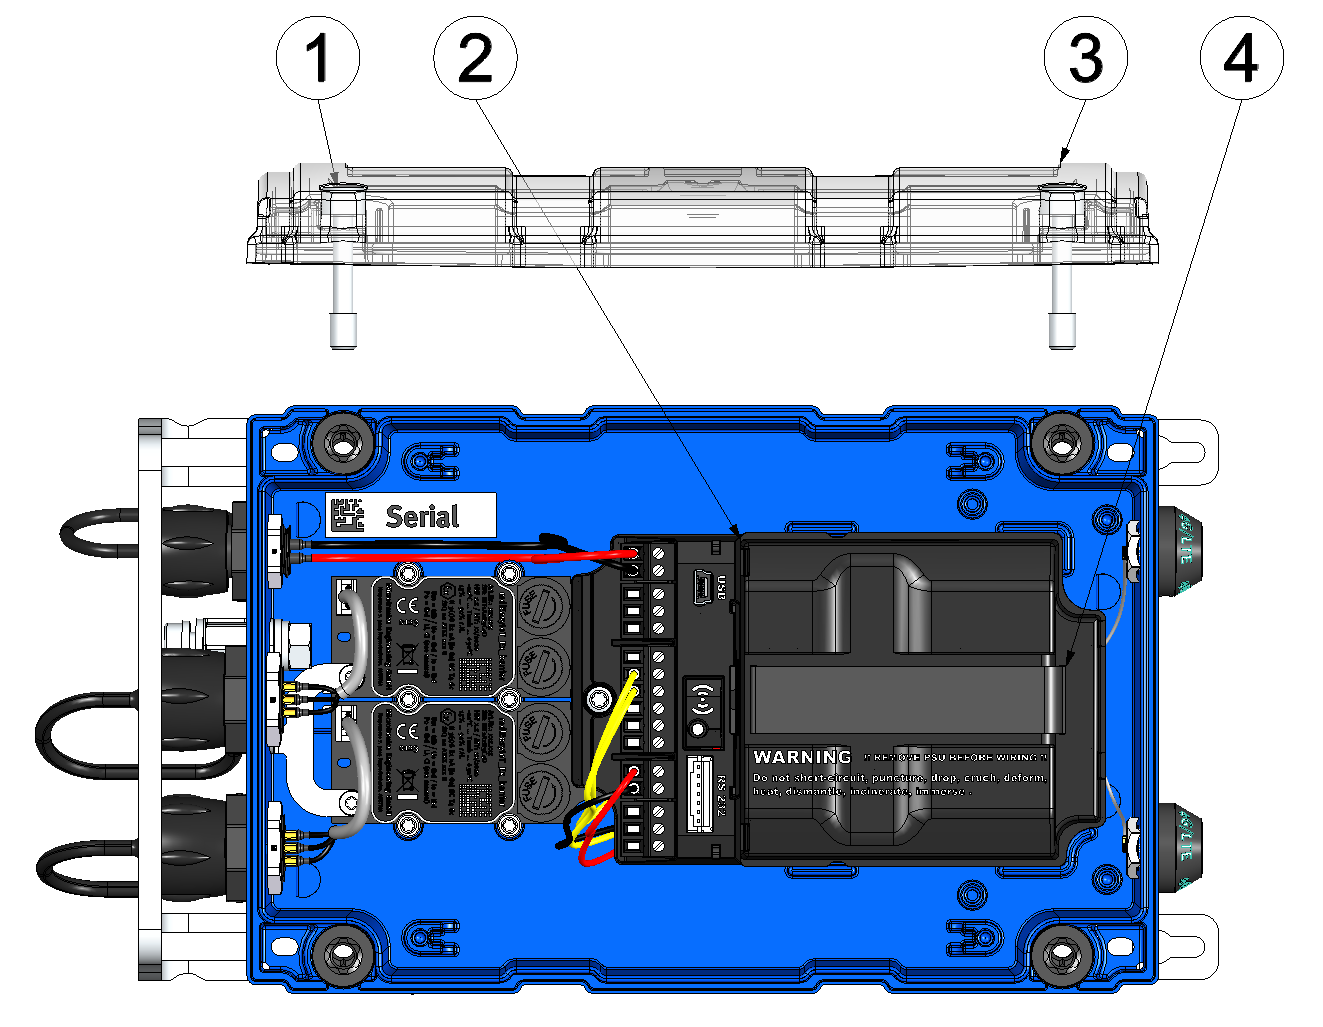
Opening the myDatalogEASY IoT ATEX
| 1 | Hexagon socket screw M6x30 | 3 | Housing cover |
| 2 | Power supply unit | 4 | Strap to remove the power supply unit |
- Ensure that all of the relevant data was transferred to the myDatanet server. If necessary, initiate a transmission via the solenoid switch (see Solenoid switch) and then check again that all of the relevant data has been transferred.
- If you are using an external supply or charging voltage, disconnect this from the device before opening the housing cover.
- Remove the four screws that secure the housing cover. Now open the myDatalogEASY IoT ATEX .
- Remove the power supply unit from the myDatalogEASY IoT ATEX and
replace the existing power supply unit with a new one. Use the strap provided to remove
the power supply unit.
Important: If the pressure compensation has been sealed via the Gas protection set (301414) (see Sealing the pressure compensation), the silica gel pouch also has to be replaced when replacing the PSU.Note: Ensure that power supply units, especially ones with integrated energy store (rechargeable battery or battery), are disposed of in line with environmental requirements. Power supply units with depleted rechargeable battery or battery can be returned to the manufacturer or handed in at suitable collection points.
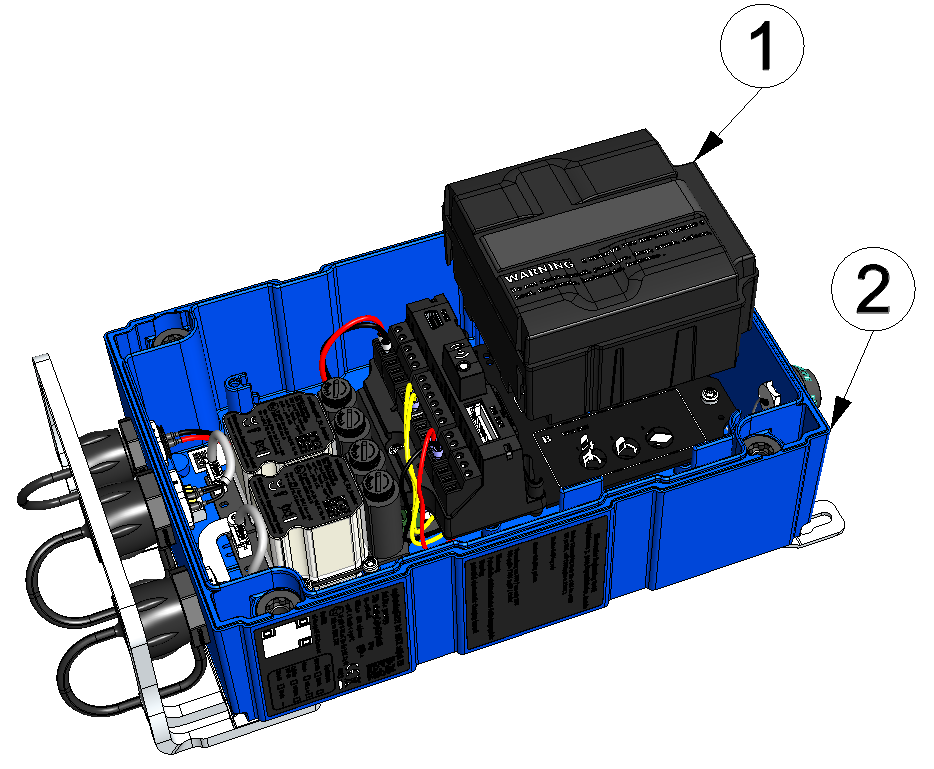
Removing the power supply unit
1 Power supply unit 2 myDatalogEASY IoT ATEX base unit - Check whether the connection to the myDatanet functions correctly (see Testing communication with the device).
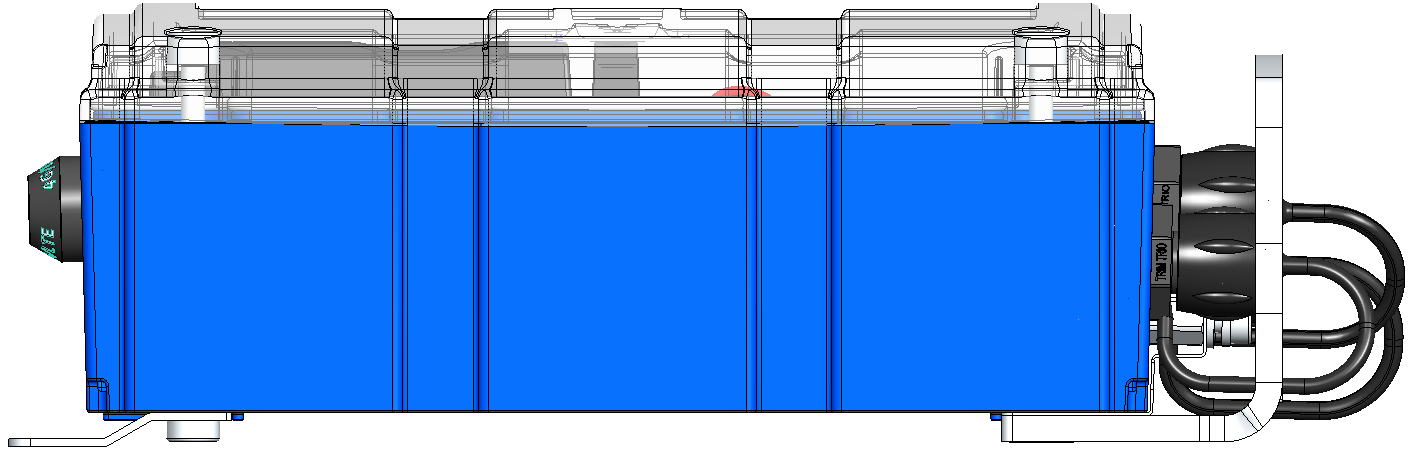
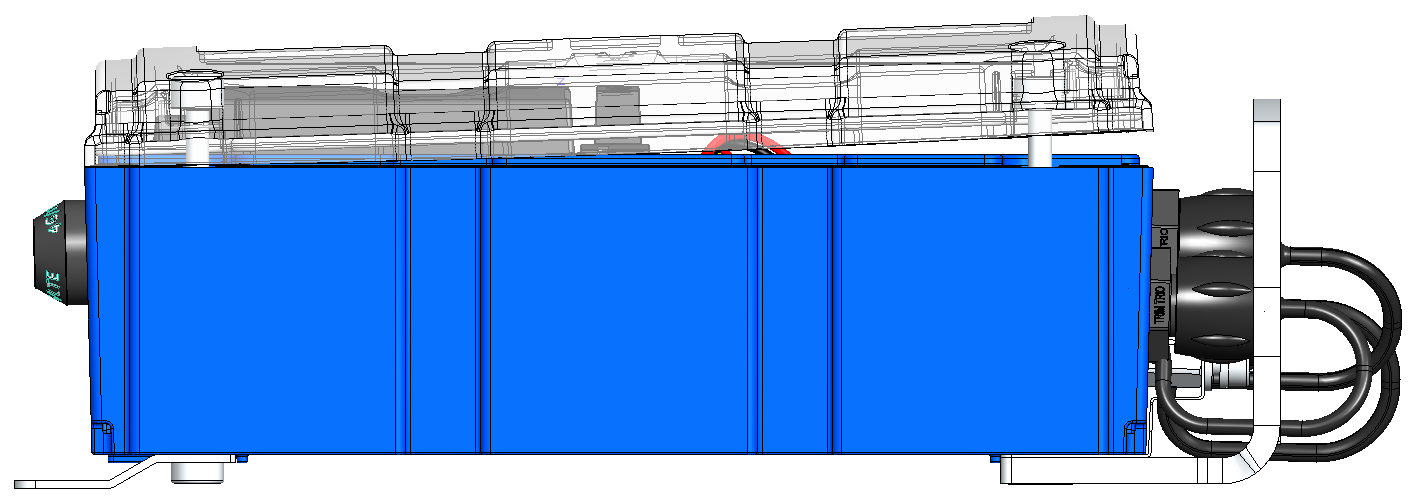
- Close the housing cover. The best option is to tighten the four screws crosswise
(torque: max. 1 Nm) so that
the housing cover is positioned evenly.
Important: Ensure that the seals are clean and intact before closing the housing cover. Remove any impurities and/or dirt. The manufacturer shall not be liable for any damage to the device caused by leaky or faulty seals.
- Check that the housing cover is positioned correctly on all sides and that no foreign
materials have been trapped between the housing and housing cover.
Important: The manufacturer is not liable for any damage that is caused by housing covers that are not closed correctly.


- Now switch on the external supply or charging voltage.
Tip: If you are using a power supply unit without an integrated energy store, the external supply or charging voltage must be switched on before the optional step during which the connection to the server is tested.


