Fuse replacement

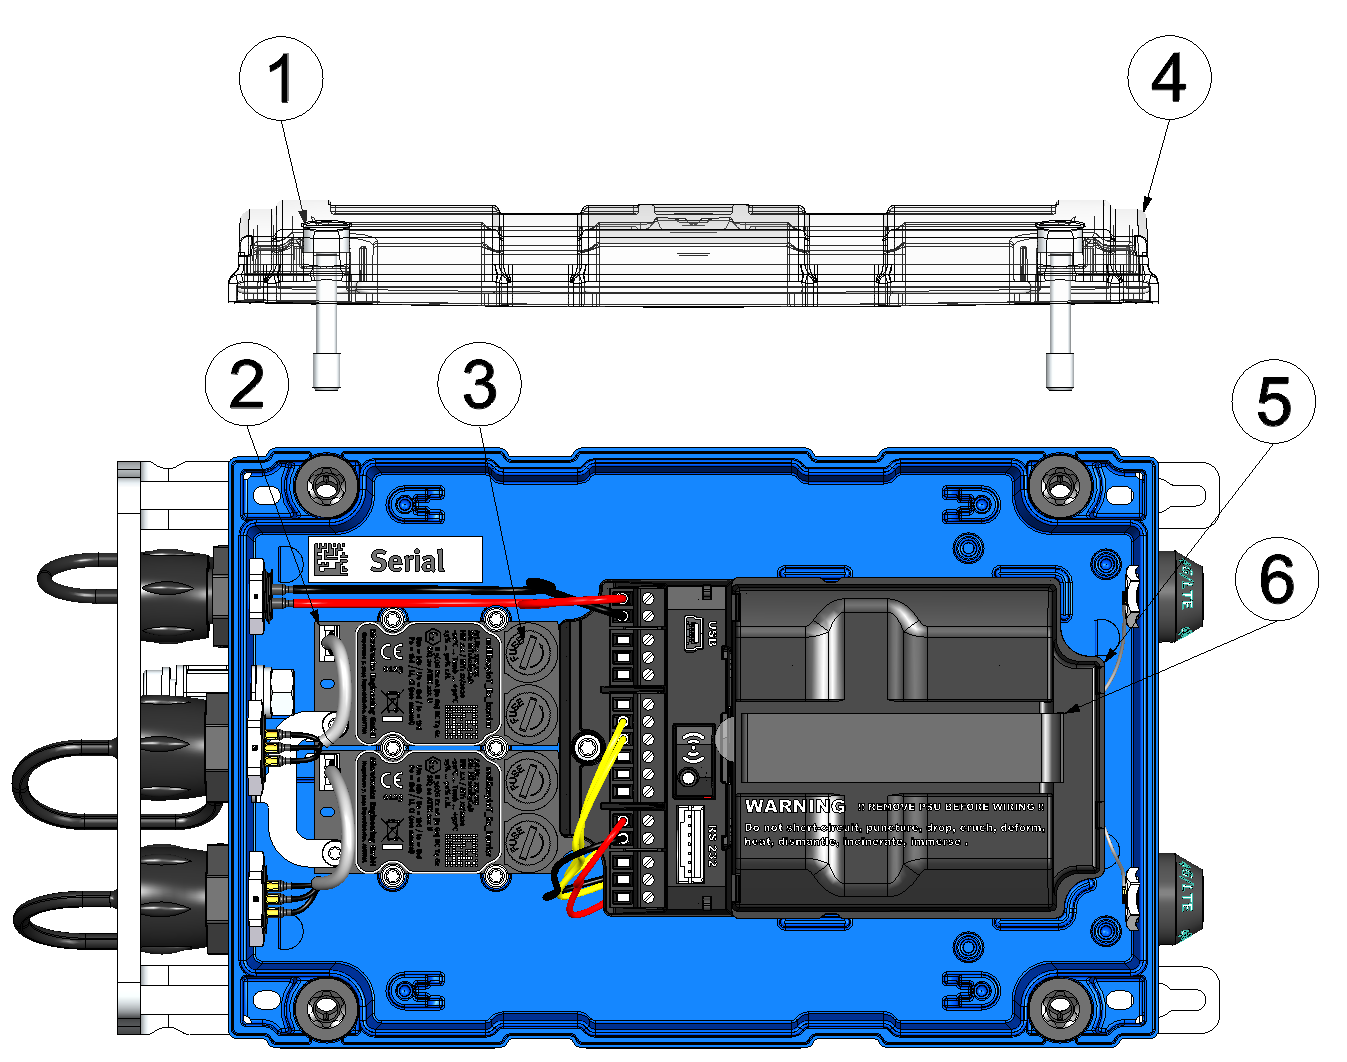
Fuse replacement
| 1 | Hexagon socket screw M6x30 | 4 | Housing cover |
| 2 | Zener barrier | 5 | Power supply unit |
| 3 | Fuse holder (one per signal path, i.e. separately for "VOUT" and "UIx") | 6 | Strap to remove the power supply unit |
- If you are using an external supply or charging voltage, disconnect this from the device before opening the housing cover.
- Remove the four screws that secure the housing cover. Now open the myDatalogEASY IoT ATEX .
- Remove the power supply unit from the myDatalogEASY IoT ATEX . Use the strap provided to remove the power supply unit.
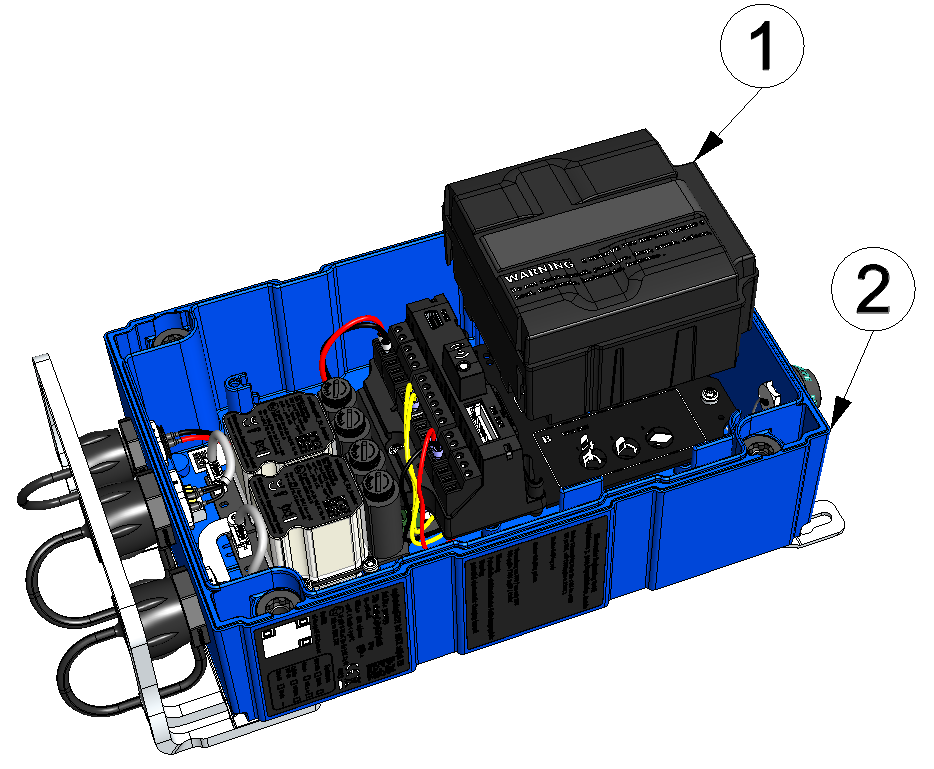
Removing the power supply unit
1 Power supply unit 2 myDatalogEASY IoT ATEX base unit - Press the fuse holder down and turn it in a counter clockwise direction (see arrow on fuse holder) until it is released and can be removed from the fuse holding fixture of the Zener barrier. Use a slotted screwdriver, if required.
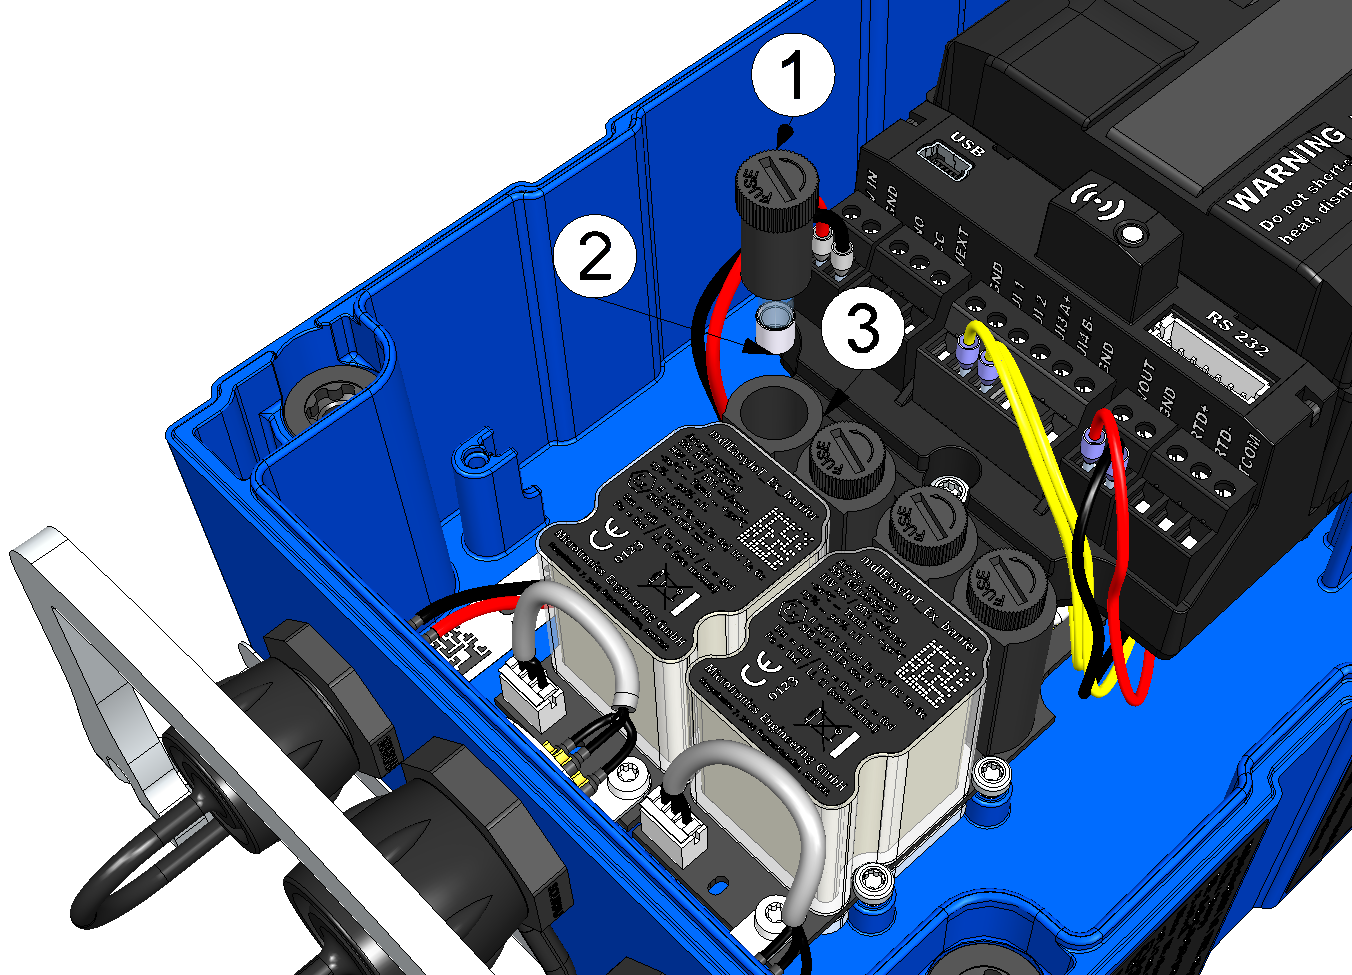
Removing the fuse
1 Fuse holder 3 Fuse base of the Zener barrier 2 Glass tube fuse - Insert a new fuse into the fuse holder. Upon delivery, a set of replacement fuses (i.e., two units) for every Zener barrier is attached in the clamping space of the myDatalogEASY IoT ATEX . The fuse specifications are detailed in the chapter Zener barrier. Refer to the "Ifuse ext." column.
Danger: Risk of fire. An incorrect fuse can cause injuries, damage or emissions. Only replace fuses with fuses of the same type and specification.
- Then insert the fuse holder and fuse back into the fuse base of the Zener barrier. Press the fuse holder down and turn it in a clockwise direction (in opposite direction to arrow on fuse holder) until it engages again.
- Close the housing cover. Tighten the four screws crosswise (torque: max. 1 Nm) so that the housing cover is positioned evenly.
Important: Ensure that the seals are clean and intact before closing the housing cover. Remove any impurities and/or dirt. The manufacturer shall not be liable for any damage to the device caused by leaky or faulty seals.
- Check that the housing cover is positioned correctly on all sides and that no foreign
materials have been trapped between the housing and housing cover.
Important: The manufacturer is not liable for any damage that is caused by housing covers that are not closed correctly.
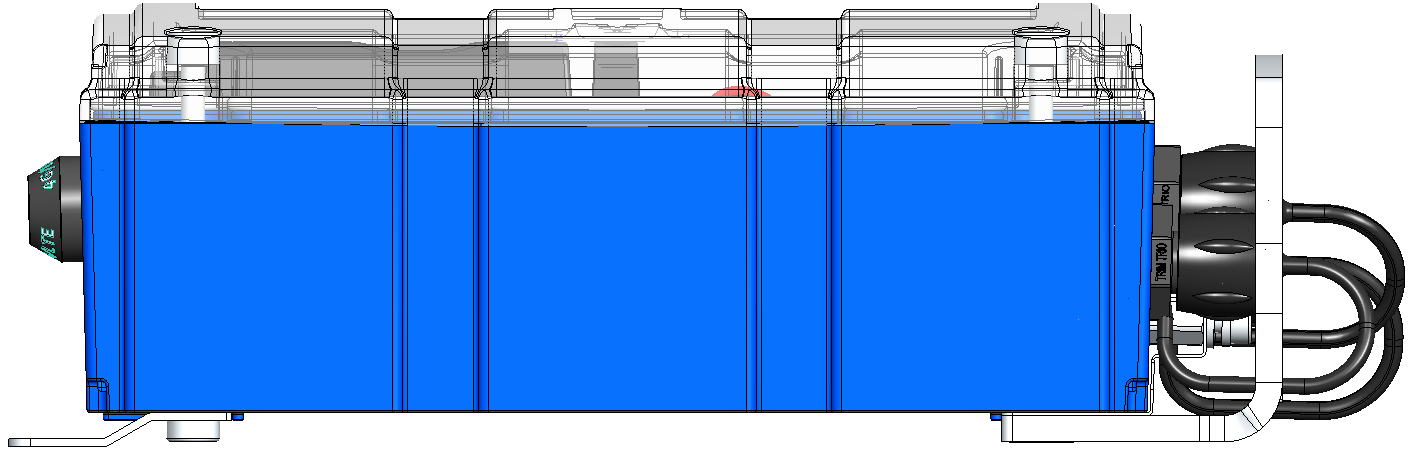

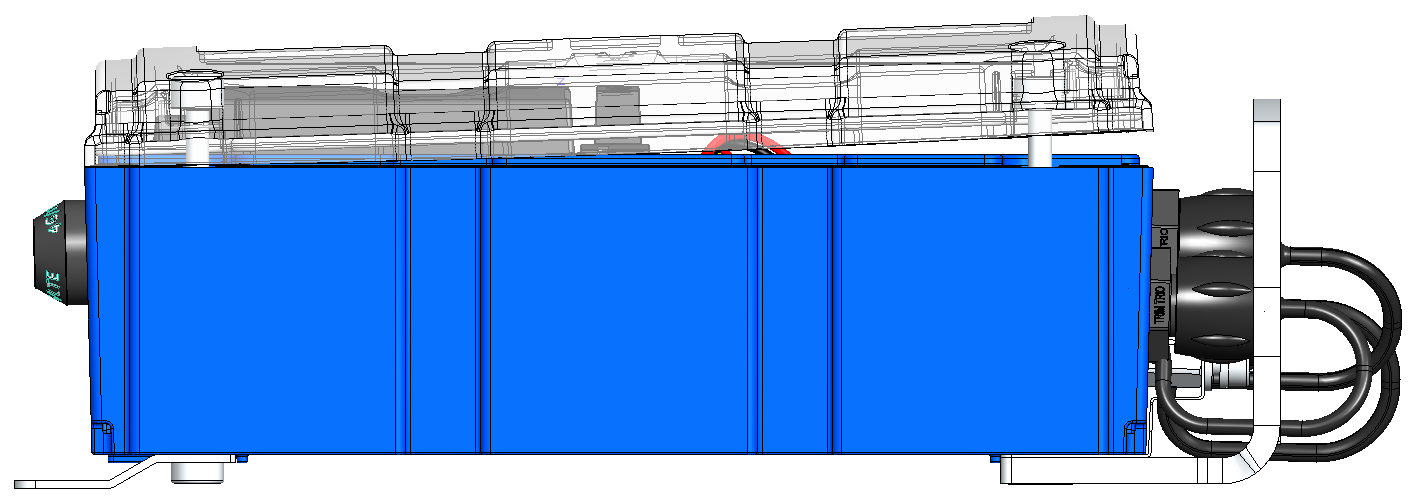

- Reconnect the external supply or charging voltage to the device.


